Mat Pilates Workout for Beginners: A Simple 15-Minute Routine
You only need a mat, a timer and a clear patch of floor. This calm starter routine uses short movement blocks, easier options and permission to pause whenever you need it.
You do not need a reformer, a studio membership or an hour-long class to try mat Pilates. This 15-minute mat Pilates workout for beginners is designed as a calm first routine you can do at home with a mat, a timer and enough clear floor space to move comfortably.
The goal is not to race through repetitions or force a particular shape. It is to practise a few controlled patterns, notice the instructions and finish feeling able to repeat the session another day. If 15 minutes feels like too much, complete the setup and first two movement blocks, then stop. Starting smaller is a valid way to begin.
Safety first: this is general exercise information, not medical advice or rehabilitation. Get appropriate professional guidance before starting if you are unsure whether exercise suits you, have an injury, health problem or symptoms, recently had surgery or another health event, or are pregnant or recently postpartum. Stop immediately if you feel pain or become unwell.
The 15-minute routine at a glance
Use the timings as a guide rather than a test. Pause between sides, shorten any block or end the session when needed. Quality matters more than completing every minute.
| Time | Movement block | Beginner focus |
|---|---|---|
| 2 minutes | Settle and breathe | Comfortable position and unforced breathing |
| 2 minutes | Pelvic tilts | Small, controlled movement |
| 2 minutes | Knee folds | Keep the range modest |
| 2 minutes | Glute bridge | Lift only as far as comfortable |
| 2 minutes | Side-lying leg lift | Stable trunk and slow leg movement |
| 2 minutes | Four-point reach | Balance with a short reach |
| 2 minutes | Seated spine stretch | Gentle forward reach, not a deep stretch |
| 1 minute | Reset | Rest and notice how you feel |
What you need
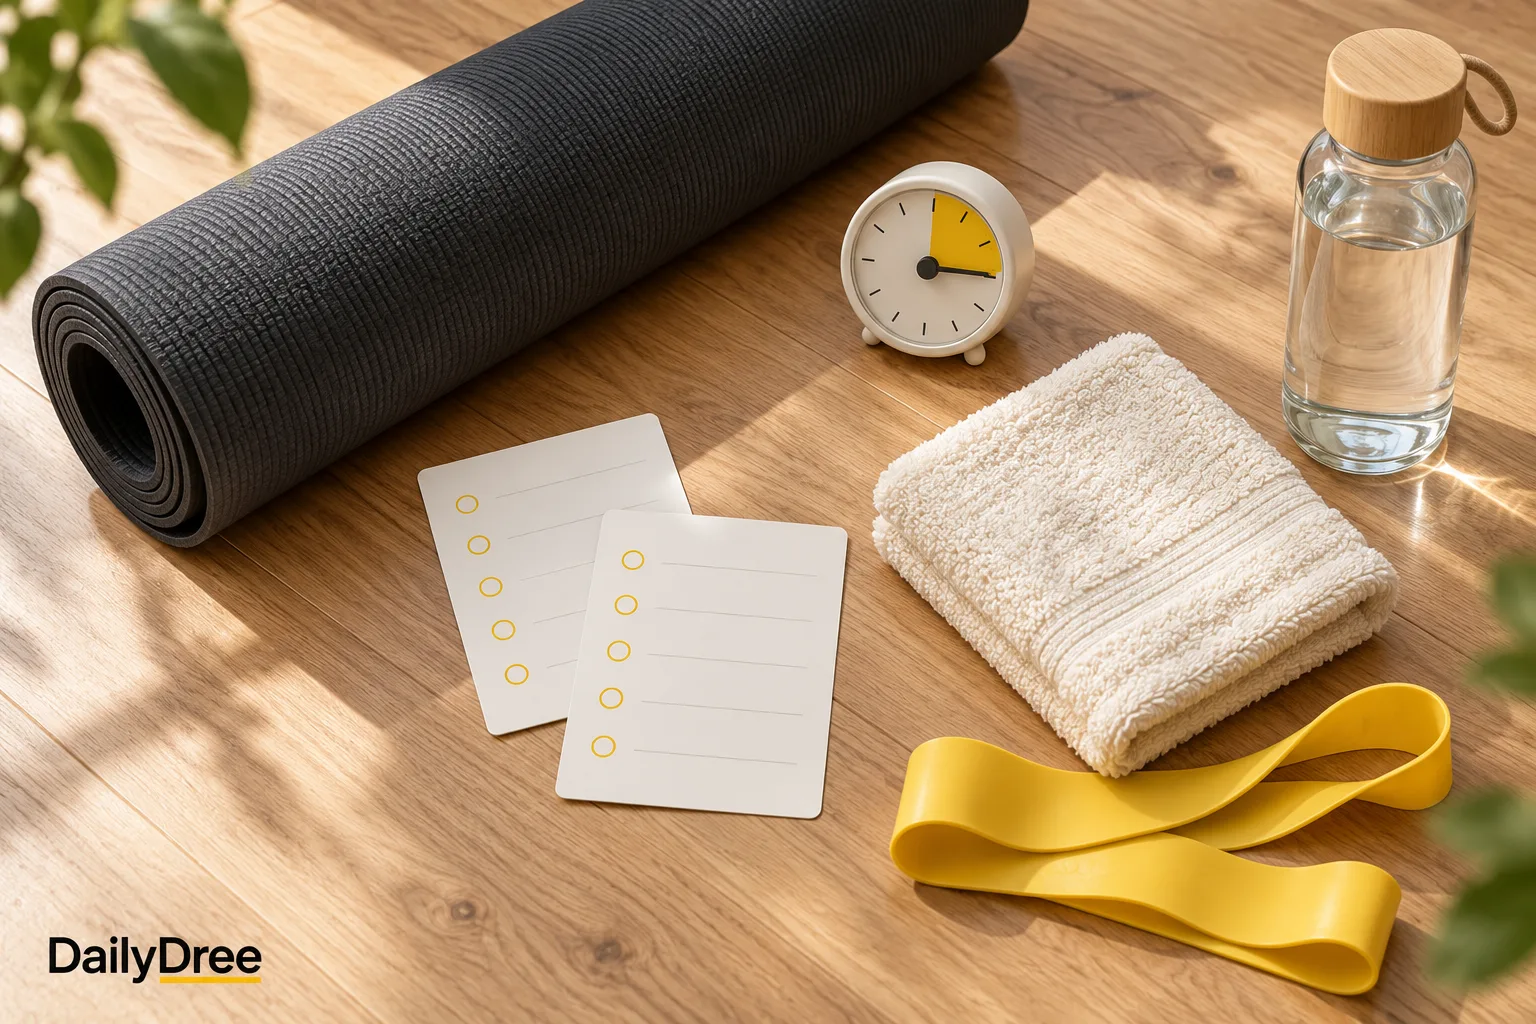
You need a supportive non-slip exercise mat, comfortable clothing, a timer you can pause without rushing, water nearby and enough clear space to lie down and extend your arms and legs. A folded towel for head or knee support is optional. No small props are required.
If you are new to the format, read our mat Pilates guide for equipment, class expectations and the difference between mat and reformer sessions.
Before you start
Place the mat on a stable, dry surface. Move furniture, lamps, toys and pets out of reach. If you are reading on a screen, position it where you can see it without repeatedly turning your neck.
Keep the effort conversational and controlled. You should be able to breathe rather than brace or hold your breath. A smaller range is not a failed version of the movement; it is one way to keep the session manageable while you learn.
The NHS describes its beginner Pilates video as general exercise, not treatment for a cause of pain or a condition. It advises stopping immediately if you feel pain or become unwell. That same boundary applies here.
1. Settle and breathe — 2 minutes
Lie on your back with your knees bent, feet on the mat and arms resting comfortably. Let your shoulders feel heavy rather than pulled down. Breathe in quietly; breathe out without squeezing or forcing all the air away.
Check that your feet rest without sliding, your head feels comfortable, you can breathe without strain and your arms have room to move. There is no need to exaggerate the breath or flatten your back. If lying flat is not comfortable, stop and choose an instructor-led option suited to your needs.
2. Pelvic tilts — 2 minutes
Stay on your back with knees bent. As you breathe out, make a small rocking movement of the pelvis so the lower back gently moves closer to the mat. Breathe in and return to your comfortable starting position.
Move slowly enough to notice the beginning and end of each tilt. The aim is a small controlled motion, not pressing hard into the floor. For an easier option, make the movement almost invisible and pause after each repetition. Stop or change position if it produces pain, cramping or pressure that concerns you.
3. Knee folds — 2 minutes
Return to the same starting position. Keeping one foot grounded, slowly let the other foot become light and lift it a short distance. Replace it with control, then change sides. Think of the leg moving without the rest of the body needing to swing or rush.
For an easier option, keep the toes in contact with the mat and slide one foot a few centimetres instead of lifting it. Use a range in which you can keep breathing normally.
4. Glute bridge — 2 minutes
With both feet on the mat, breathe out and slowly lift the pelvis only as far as feels controlled and comfortable. Pause briefly, then lower with the same steady pace. Avoid chasing height. A low bridge with an even rhythm is enough for a beginner session. Keep the front of the neck relaxed and do not turn your head while the pelvis is lifted.
The easier option is to repeat the pelvic tilt without lifting. Stop if you feel pain, dizziness or become unwell.
5. Side-lying leg lift — 2 minutes
Roll onto one side and arrange your head so it is supported. Bend the lower leg if that helps you feel stable. Keep the top leg long and lift it a small distance, then lower slowly. Change sides around the halfway point.
Use your free hand on the mat for balance. The leg does not need to lift high; aim to keep the movement smooth without rolling backwards. For an easier option, keep both knees bent and lift only the top knee a short distance while the feet stay together. Skip this block if side-lying is uncomfortable for your shoulder, hip or neck.
6. Four-point reach — 2 minutes
Come onto hands and knees with a folded towel under the knees if wanted. Keep the reach short: slide one foot back along the floor, return it, then change sides. If that feels stable, try reaching one arm forward at a time. You do not need to lift an opposite arm and leg together.
For an easier option, keep all four contact points down and gently shift your weight a small distance forwards and backwards. Hands, wrists and knees should feel supported. Skip the block if the position is not suitable for you.
7. Seated spine stretch — 2 minutes
Sit in a position you can maintain without strain. Bend the knees if needed. Reach the arms comfortably forward, then make a small forward movement through the upper body as you breathe out. Return upright slowly.
This is not a competition to touch your toes. Keep the movement modest and give the return as much attention as the forward reach. Sit on a folded towel or keep your hands on your thighs for an easier option. If floor sitting is not comfortable, skip this block and rest in a supported position.
8. Reset — 1 minute
Choose a comfortable resting position. Let your breathing return to its usual rhythm and notice whether anything feels painful, unusually strained or unwell.
Do not jump straight into a harder round because the first one felt easy. The US Office of Disease Prevention and Health Promotion advises inactive people to start with small amounts and build gradually. Repeat this level until the timing and transitions feel familiar.
Printable session card
Save or print this table and place it near the mat.
| Done | Block | Time | One cue |
|---|---|---|---|
| ☐ | Settle and breathe | 2 min | Breathe without forcing |
| ☐ | Pelvic tilts | 2 min | Keep it small |
| ☐ | Knee folds | 2 min | One leg at a time |
| ☐ | Glute bridge | 2 min | Control before height |
| ☐ | Side-lying leg lift | 2 min | Smooth, low range |
| ☐ | Four-point reach | 2 min | Slide before lifting |
| ☐ | Seated spine stretch | 2 min | Gentle reach, slow return |
| ☐ | Reset | 1 min | Notice how you feel |
How often should a beginner repeat this workout?
There is no universal schedule that suits everyone. Leave enough time to notice how the session felt during and afterwards, then repeat only when you feel ready. Do not increase duration, frequency and difficulty all at once.
You might repeat the same 15-minute template before adding longer holds, more repetitions or a harder class. If you are currently inactive, even completing part of the routine is a starting point. The aim is a pattern you can sustain, not an ambitious first week followed by none.
Common beginner mistakes
Moving too quickly can hide uncertainty about the setup. Slow down enough to replace each foot or hand deliberately. If a block makes you brace or stop breathing, reduce the range, use the easier option or rest.
A higher bridge or leg lift is not automatically better. Choose the range you can control without pain. You also do not need to copy an advanced version simply because a video demonstrates it.
Pain is not a required part of Pilates. Stop immediately if you feel pain or become unwell, and seek appropriate help when symptoms concern you or do not settle.
How to progress without rushing
When the routine feels familiar, change one variable at a time. Add one slow repetition to selected blocks, extend the session by a few minutes or follow a complete beginner class with a qualified instructor. Ask for feedback on any cue or position you do not understand.
Avoid inventing harder variations from short social-media clips. A trained instructor can see details an article cannot assess, especially if you have symptoms, an injury, disability, pregnancy-related considerations or a recent health event.
The best first workout is one you can repeat
A beginner mat Pilates workout does not need complicated choreography. Clear space, a stable mat, a manageable pace and permission to pause are enough to begin. Use this routine as a simple template, keep the movements controlled and repeat the level before adding complexity.
Treat an article as general guidance, not a substitute for an instructor who can observe your movement or a healthcare professional who can assess symptoms and individual needs.
Frequently Asked Questions
Is 15 minutes of mat Pilates enough for a beginner?
It can be enough for a first practice session. A short routine lets you learn the setup and observe how you respond. It is not a promise that 15 minutes fulfils every fitness goal or weekly activity recommendation.
Can I do this mat Pilates workout every day?
Daily practice is not automatically necessary or suitable. Recovery needs, current activity level and session difficulty differ between people. Repeat it only when you feel ready and get personalised advice if you are unsure.
Do I need a Pilates mat?
A supportive, non-slip exercise mat is useful. You do not need a reformer or specialist props for this routine. Avoid an unstable or slippery surface.
What if I cannot sit comfortably on the floor?
Skip the seated block rather than forcing it. A suitable instructor can offer an alternative based on your circumstances; a general article cannot assess the reason for discomfort.
Should a beginner feel sore after Pilates?
Responses to new activity vary, but pain or feeling unwell during the session is a reason to stop. If symptoms concern you or persist, seek appropriate professional advice.
Sources
◆